
How-To Guide - Admins
How to set up the AI phone agent
Turn on the AI receptionist that answers calls when no one picks up: enable it, tell it about your business, write a greeting, and pick a voice.
Updated August 7, 2026
Overview
Use this guide to set up the AI phone agent: enable it, tell it about your business, write a greeting, and choose a voice — so a missed call never just rings out.
Before you start
- You've connected your own Twilio account under CRM Settings (Gigpie doesn't provision a phone number for you).
- You know your hours, services, and pricing — the agent only knows what you tell it here.
Why this matters
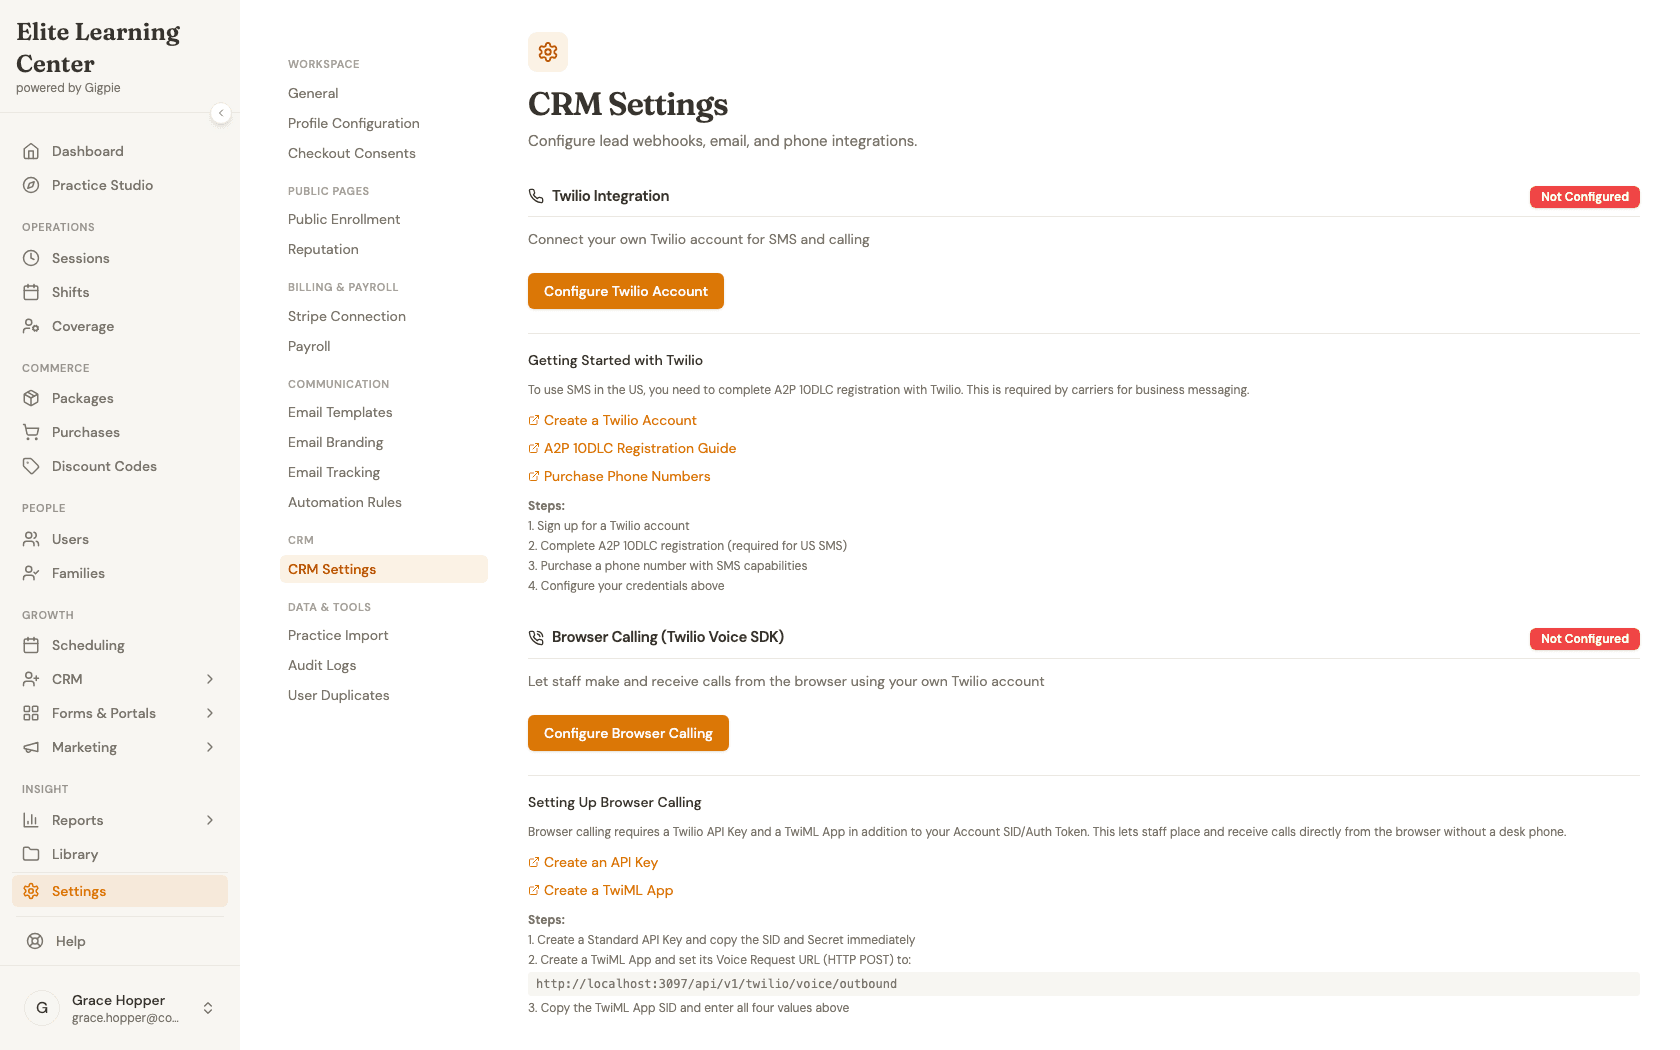
Every phone feature in Gigpie — the in-browser softphone, the AI agent, voicemail transcription — runs on your own Twilio account, not a number Gigpie sells or assigns you. The CRM Settings page is direct about this: the Twilio Integration panel shows "Not Configured" until you connect your own account, with links to sign up for Twilio, complete the carrier-required A2P 10DLC registration, and buy a number there. Gigpie's role is to sync in numbers you've already purchased, not to provision one for you.
Once Twilio is connected, the AI phone agent picks up calls under one specific condition: no owner is assigned to the caller, or the assigned owner doesn't answer. It isn't a replacement for your team picking up the phone — it's the fallback for the calls that would otherwise just ring out. The agent's knowledge is entirely what you type into the "Business info & instructions" field: hours, services, pricing, policies, in plain prose. There's no structured hours field or menu system — it's fed as an instruction to the underlying model, so write it the way you'd brief a new hire.
Tips
- The "Business info & instructions" field isn't just hours — treat it as a system prompt. Include services, starting prices, and how you want the agent to sound (short and friendly vs. detailed).
- The Greeting is spoken immediately, before the caller says anything — keep it short so it doesn't feel like a wait.
- Voice is optional. Leave it blank to use the default, or enter a specific Twilio ConversationRelay voice name (like
en-US-Journey-O) if you want a particular tone. - Which call the agent even gets to answer isn't configurable here — the handoff logic (try the assigned owner first, fall back to the agent) is fixed, not a setting.
- Save this panel from a private/quiet moment — there's no draft state, so double-check your business info before submitting.
Steps
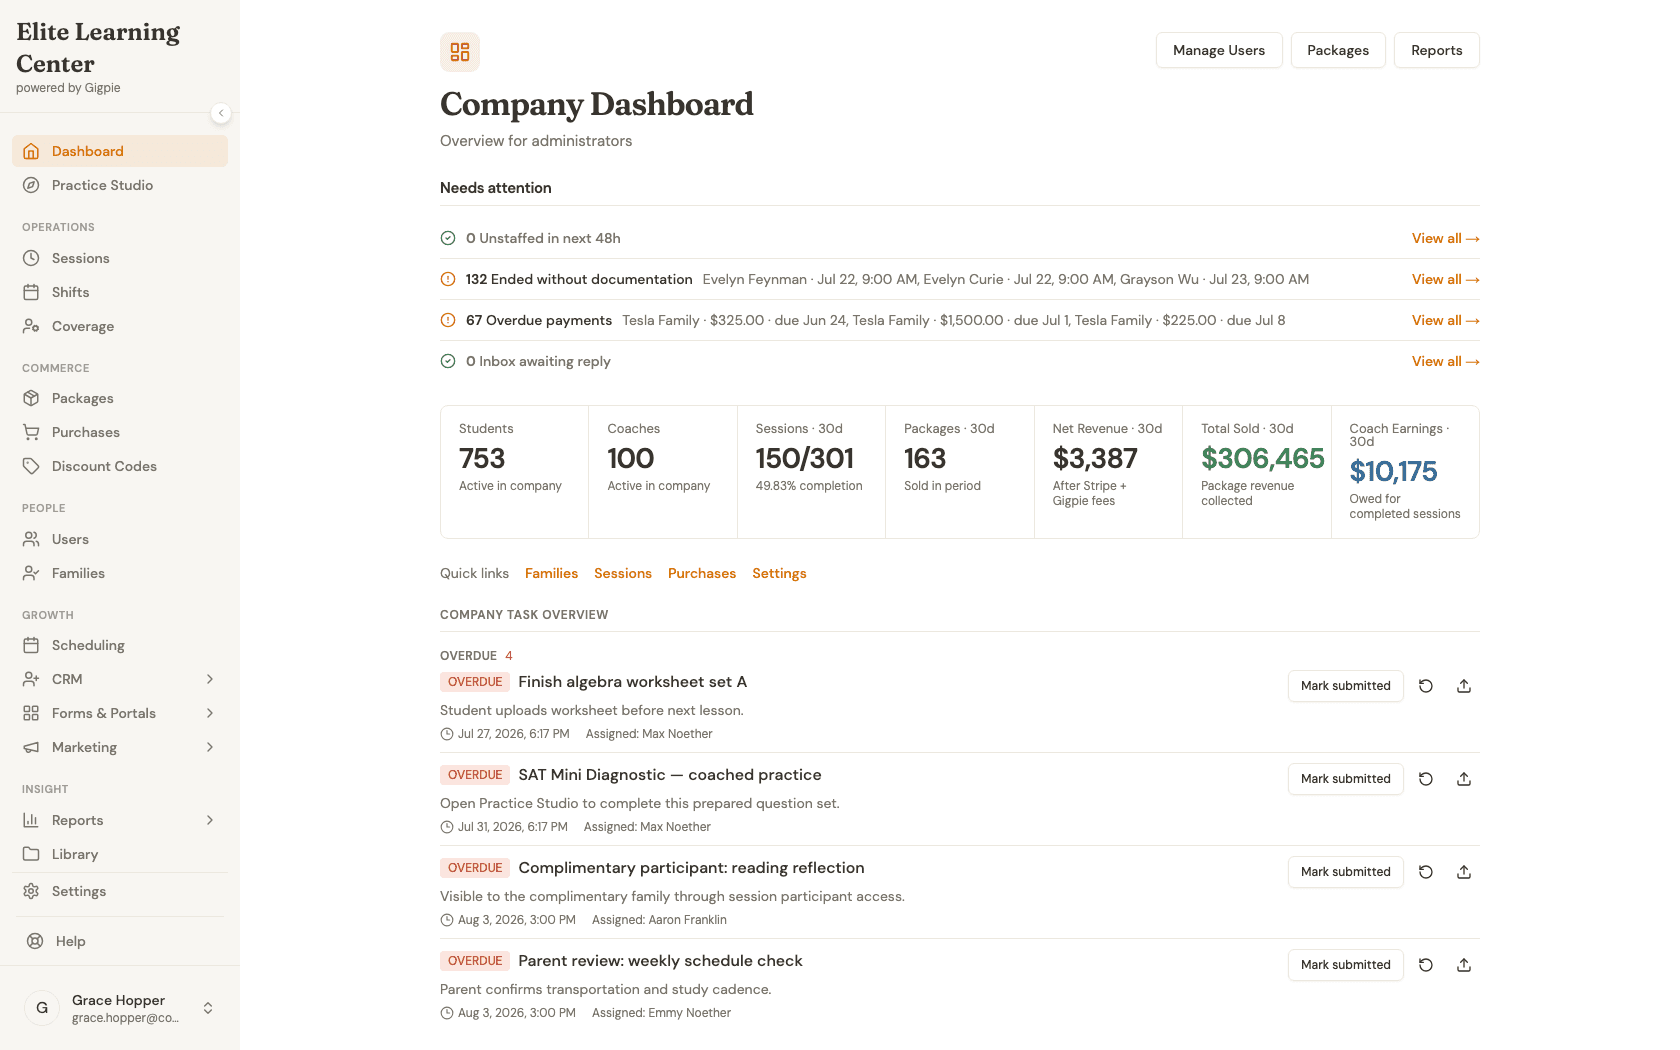
- 1Go to login
Sign in as an admin
Use your admin account credentials to access the dashboard.
- 2
Navigate to CRM Settings
Click Settings in the sidebar, then CRM Settings. The Twilio Integration panel at the top shows whether you've connected your own Twilio account yet — required before the AI agent can actually answer calls.
- 3
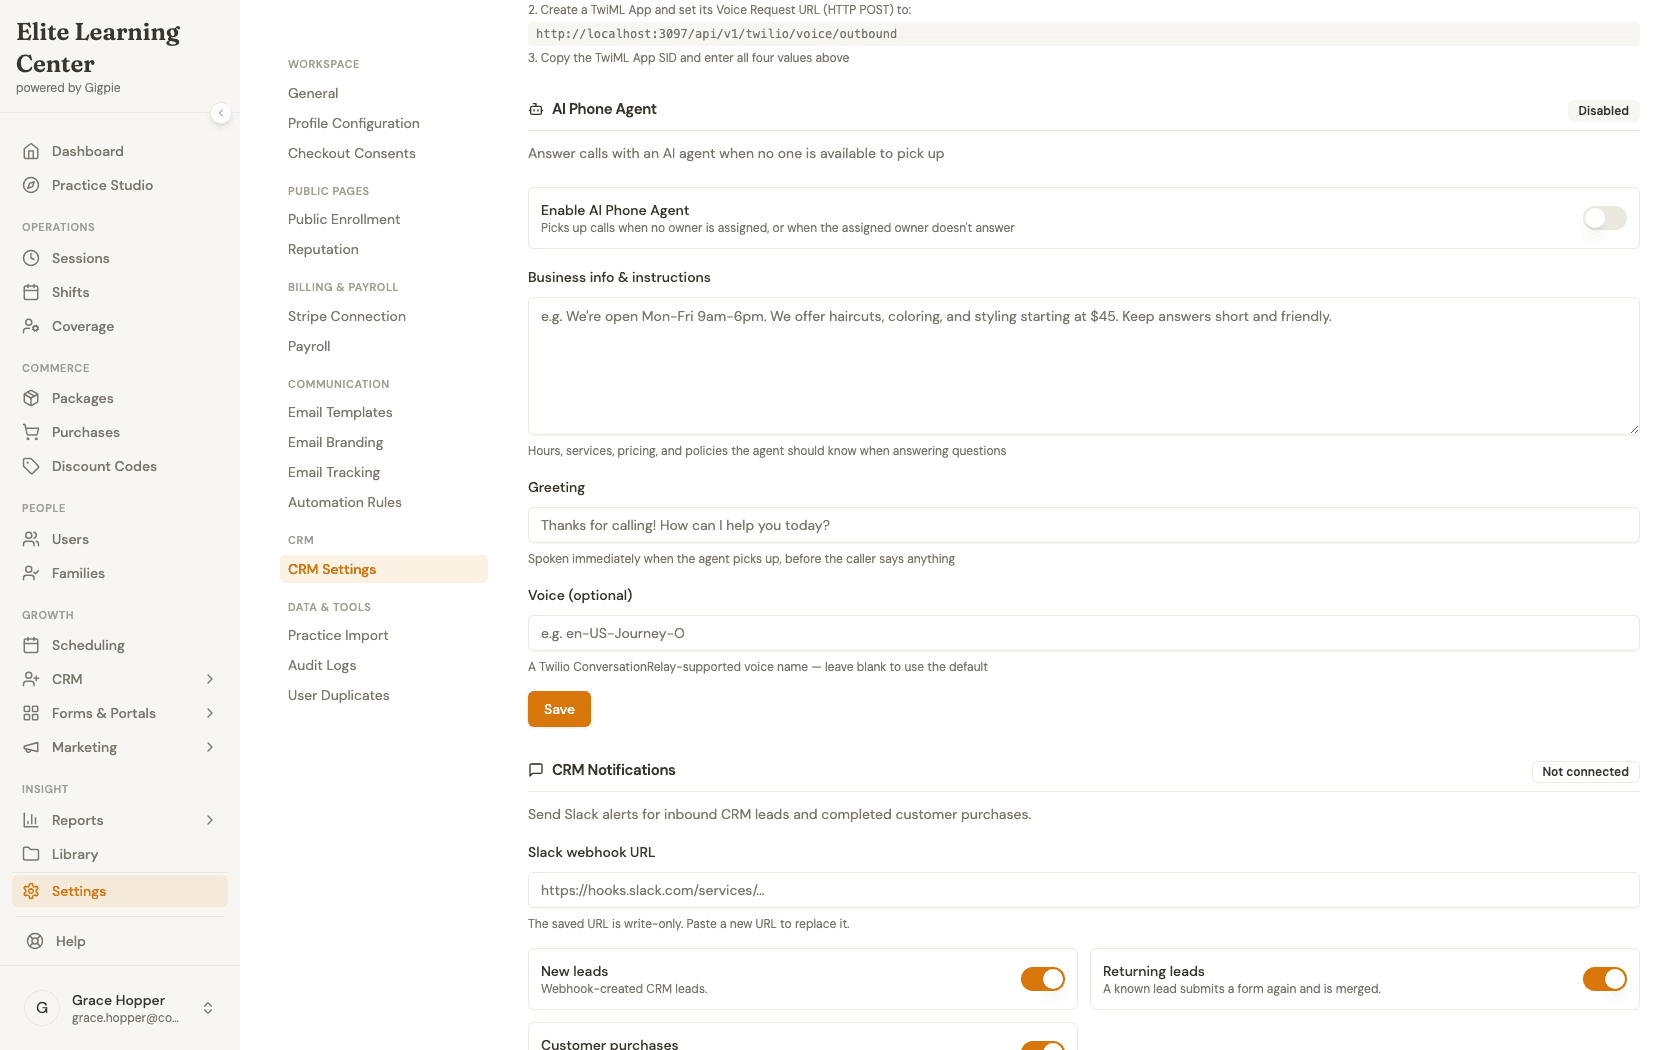
View the AI Phone Agent panel
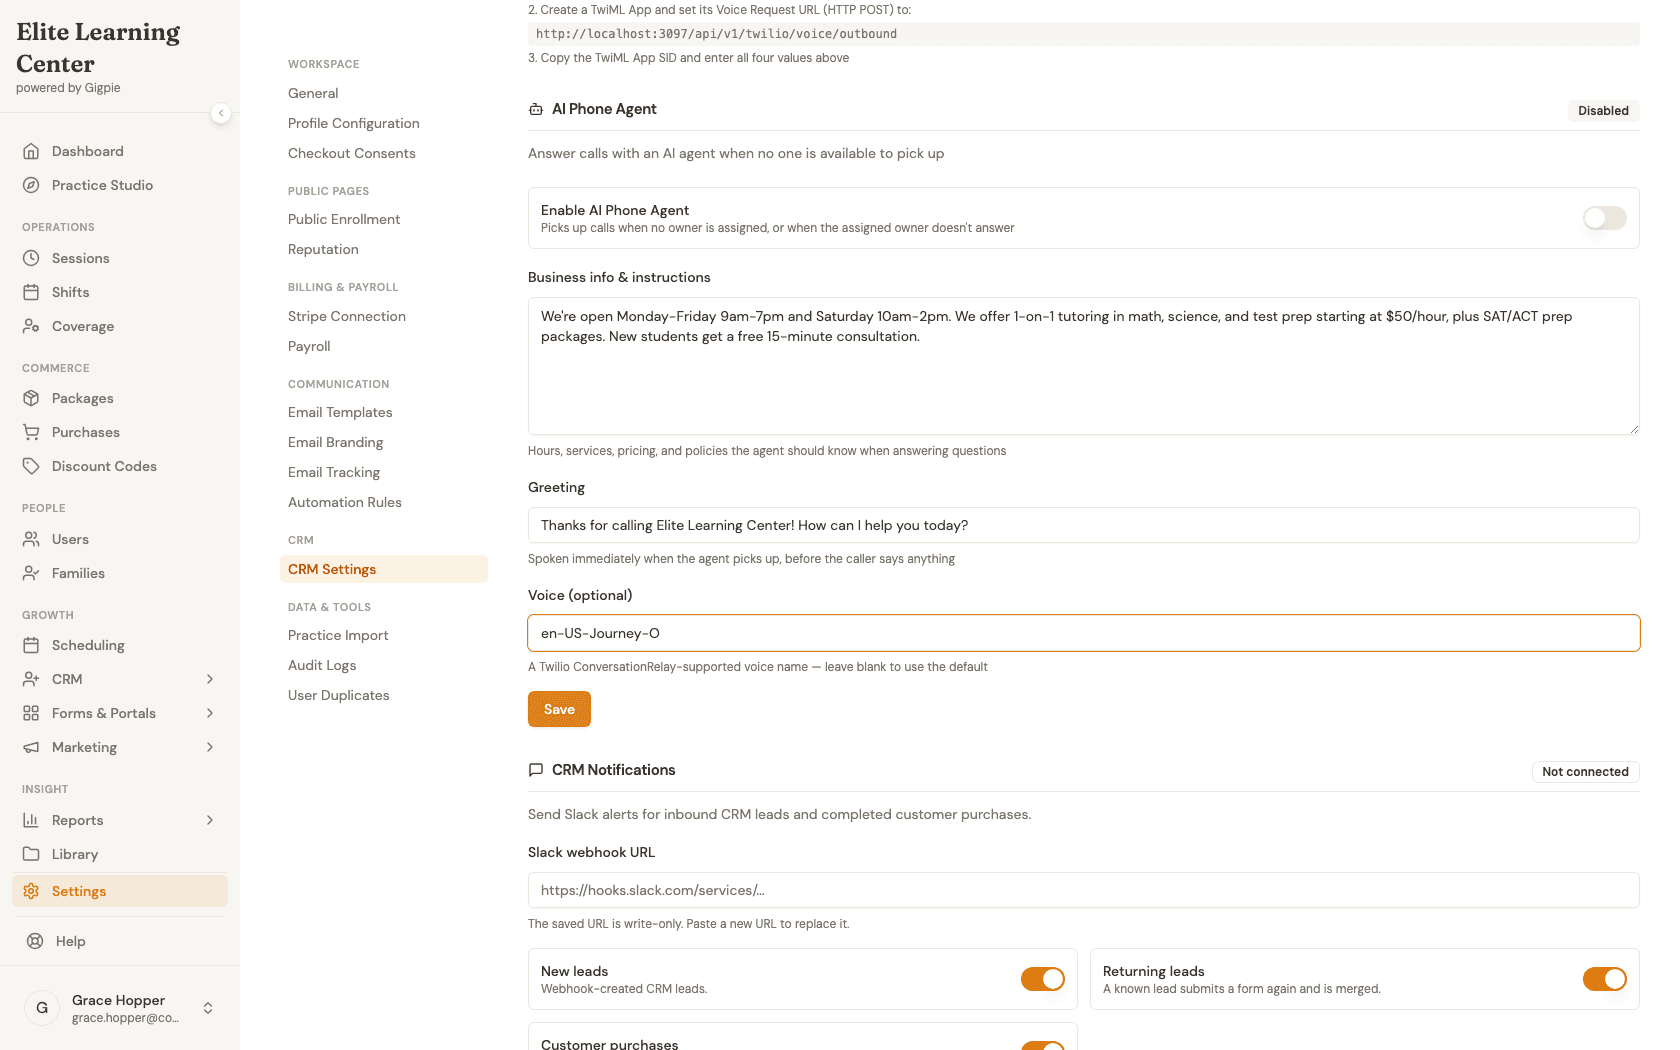
Scroll down to the AI Phone Agent panel. The Enable toggle turns the agent on and off — it stays off until you flip it and save.
- 4
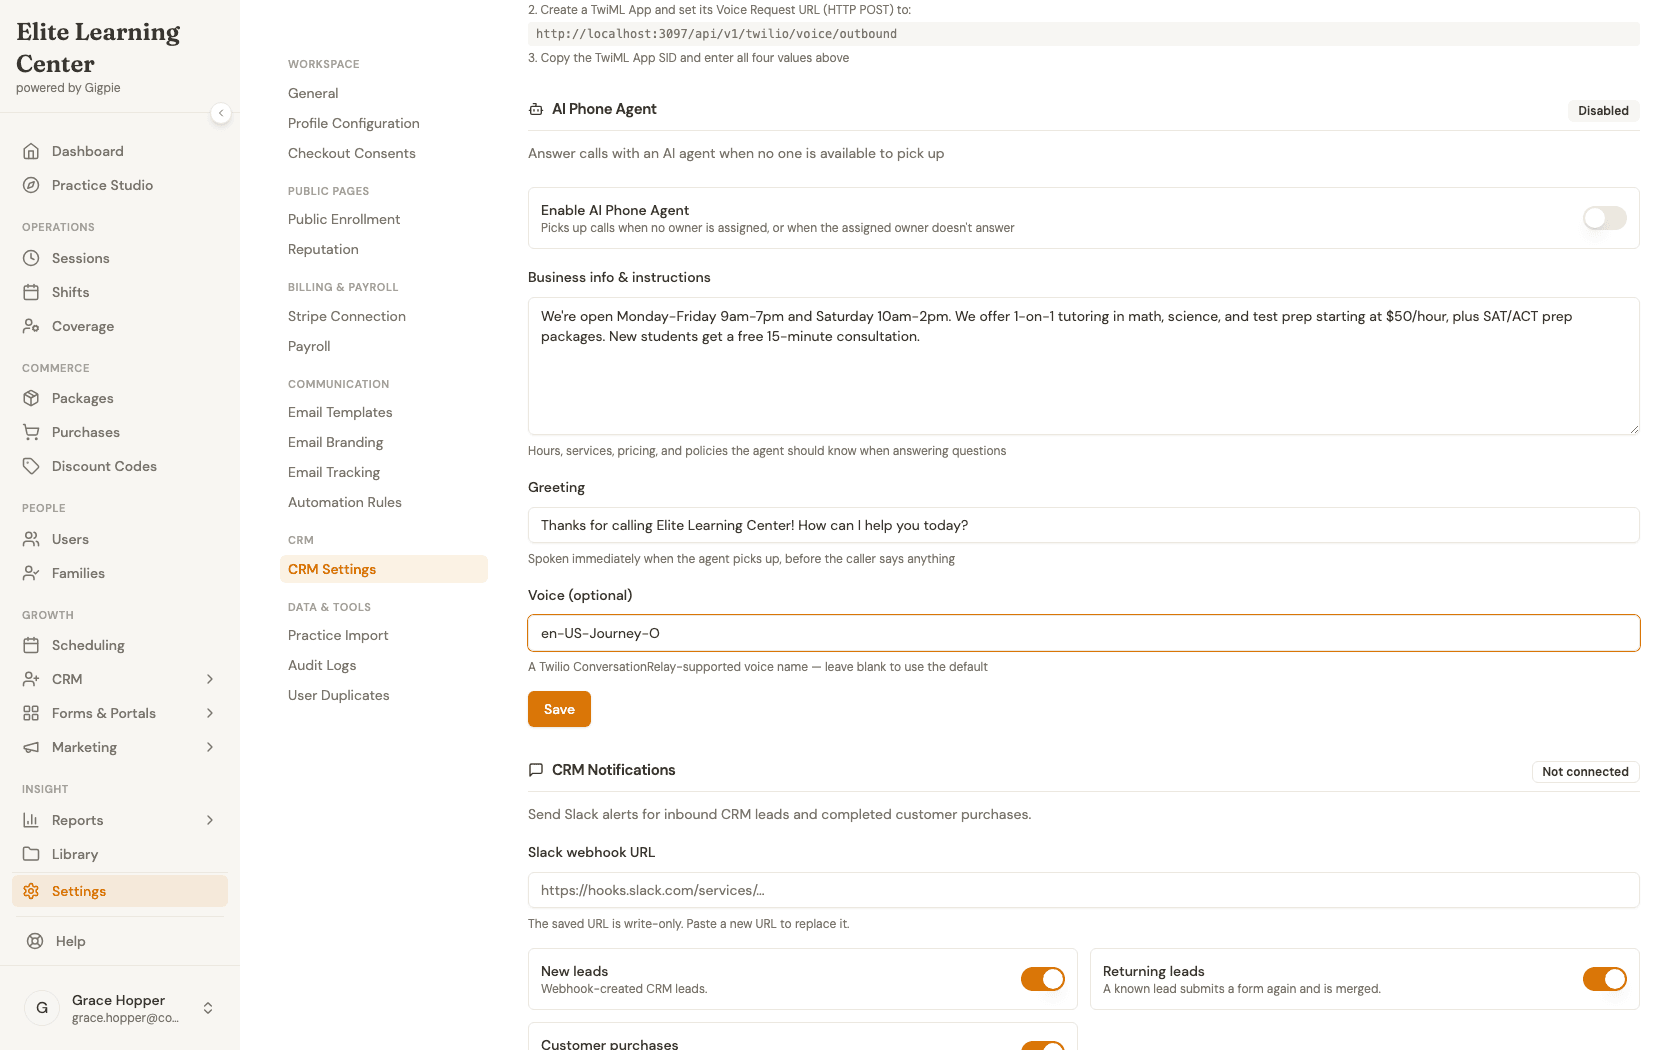
Fill in the agent's business info, greeting, and voice
Describe your hours, services, and pricing in Business info & instructions, write a short Greeting the agent speaks first, and optionally set a Voice.
- 5
Review before saving
Read back what you've written, then click Save to turn the configuration live.
What you'll accomplish
- You know what the AI phone agent does and doesn't do — it answers when no one is available, it doesn't replace your team.
- The agent has your business info, a greeting, and (optionally) a specific voice configured.
- You understand that phone numbers are bring-your-own-Twilio, synced in, not purchased through Gigpie.
Related Guides
- AI Phone Agent - What the agent does end to end: missed calls, voicemail transcription, and lead capture from unknown-number texts
- How to work leads in the CRM pipeline - Calls the agent handles still show up as CRM activity you can follow up on